Surya Namaskar Steps: The 12 Poses in Order, with Pictures
Surya namaskar 12 illustrations Updated 2 Nov 2026
Surya namaskar steps follow a fixed order of 12 poses, each matched to an inhale or an exhale, that together form one set of the sun salutation. Learn the shapes slowly first, one or two a day, and only then link them into a flowing round.
Below you will find every step with a picture, the breath, what to feel and how beginners can make it easier. If you want the background first, start with the surya namaskar overview.
- Steps
- 12 in one set, 24 in a full round
- Breath
- Inhale to open and lift, exhale to fold
- Time
- Learn: 3 to 4 minutes a round. Later: 1 to 2
- Space
- A full mat length and arm room
- Warm up
- Neck, wrists, cat cow before starting
- Rest
- Child pose between rounds
Surya namaskar steps at a glance
Use this list while you practise. These are the surya namaskar poses with names, sometimes called the surya namaskar aasan or asana list. In the first set the right leg steps back at step 4 and forward at step 9; the second set mirrors it on the left. Two sets make one full round.
- Pranamasana, prayer pose: exhale.
- Hasta uttanasana, raised arms: inhale.
- Hasta padasana, hand to foot: exhale.
- Ashwa sanchalanasana, right leg back: inhale.
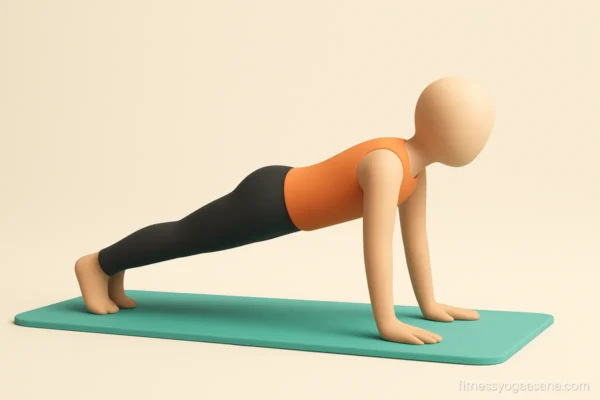
- Dandasana, plank: hold the breath out briefly or exhale.
- Ashtanga namaskara, eight points: breath out.
- Bhujangasana, cobra: inhale.
- Parvatasana, mountain: exhale.
- Ashwa sanchalanasana, right foot forward: inhale.
- Hasta padasana, hand to foot: exhale.
- Hasta uttanasana, raised arms: inhale.
- Pranamasana, prayer pose: exhale.
Surya namaskar steps in pictures
- Level
- Beginner
- Hold
- Exhale
- Works on
- Grounding
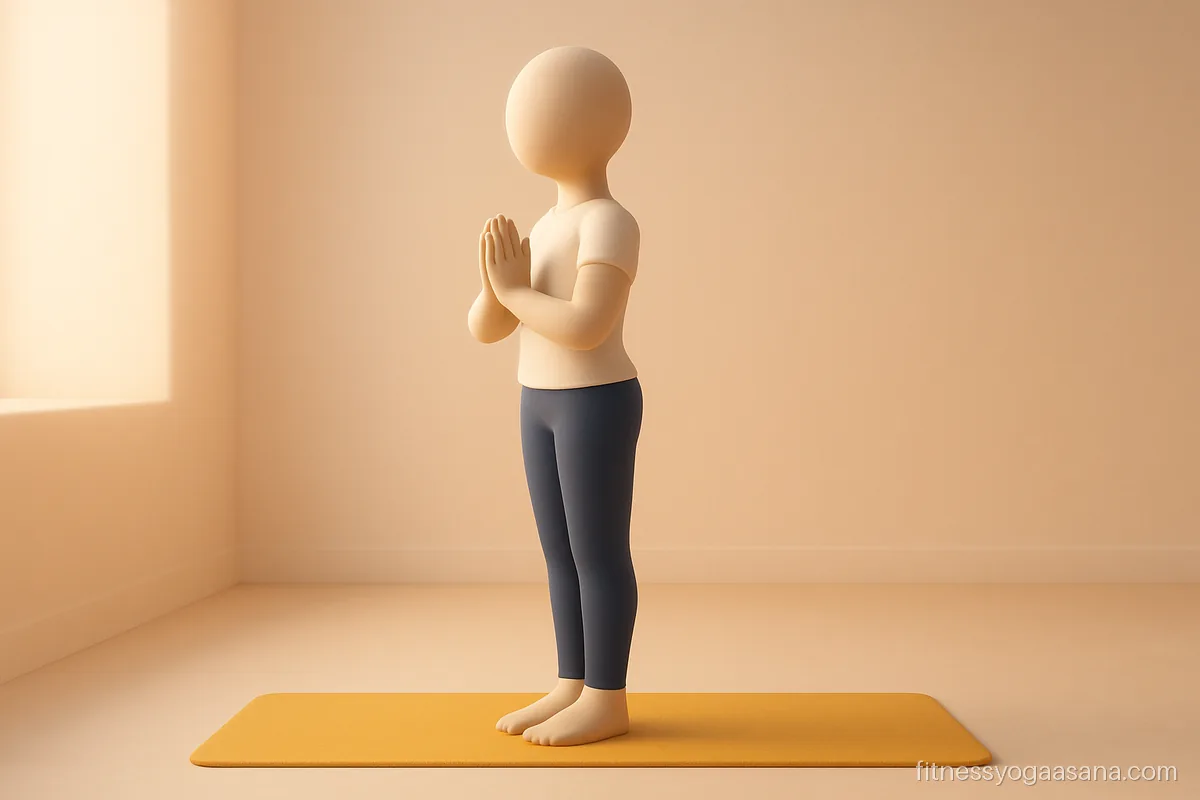
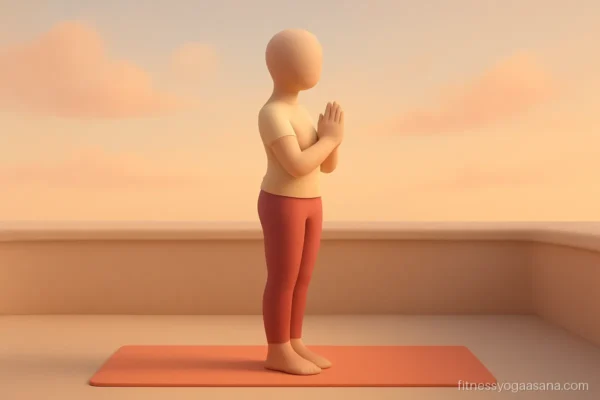
Step 1, pranamasana. Stand at the front of the mat, feet together or hip width, and bring the palms together in front of the heart. Exhale fully.
Teacher's cue: Spread your weight evenly over both feet and soften the shoulders.

- Level
- Beginner
- Hold
- Inhale
- Works on
- Chest, shoulders
Step 2, hasta uttanasana. Inhale and sweep both arms overhead next to the ears, lifting the chest into a small, comfortable arch.
Teacher's cue: Lift up before you lean back, so the arch stays in the upper back.

- Level
- Beginner
- Hold
- Exhale
- Works on
- Hamstrings
Step 3, hasta padasana. Exhale and fold forward from the hips, placing the palms beside the feet. Soft knees are fine.
Teacher's cue: Line your fingertips up with your toes so the next step lands well.

- Level
- Beginner
- Hold
- Inhale
- Works on
- Hip flexors
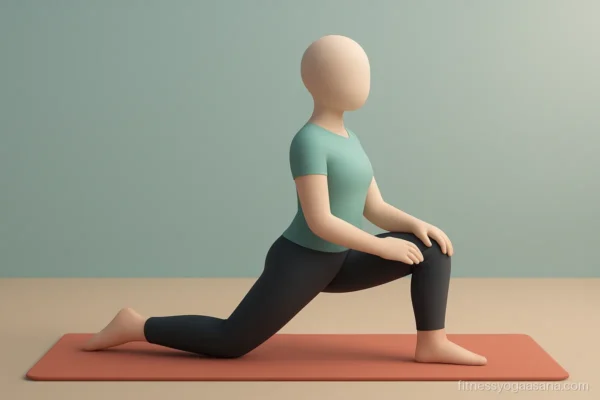
Step 4, ashwa sanchalanasana. Inhale and step the right leg far back, lower the right knee, and lift the chest and gaze.
Teacher's cue: Keep the left knee directly above the left ankle.

- Level
- Beginner
- Hold
- Brief pause or exhale
- Works on
- Core, arms
Step 5, dandasana. Step the left leg back to meet the right and hold a straight plank, hands under the shoulders.
Teacher's cue: Press the floor away and keep the hips level with the shoulders.
- Level
- Beginner
- Hold
- Breath out
- Works on
- Arms, chest
Step 6, ashtanga namaskara. Lower the knees, then the chest and chin, keeping the hips lifted. Eight points touch the mat.
Teacher's cue: Elbows hug the ribs as you lower, like a caterpillar.

- Level
- Beginner
- Hold
- Inhale
- Works on
- Spine
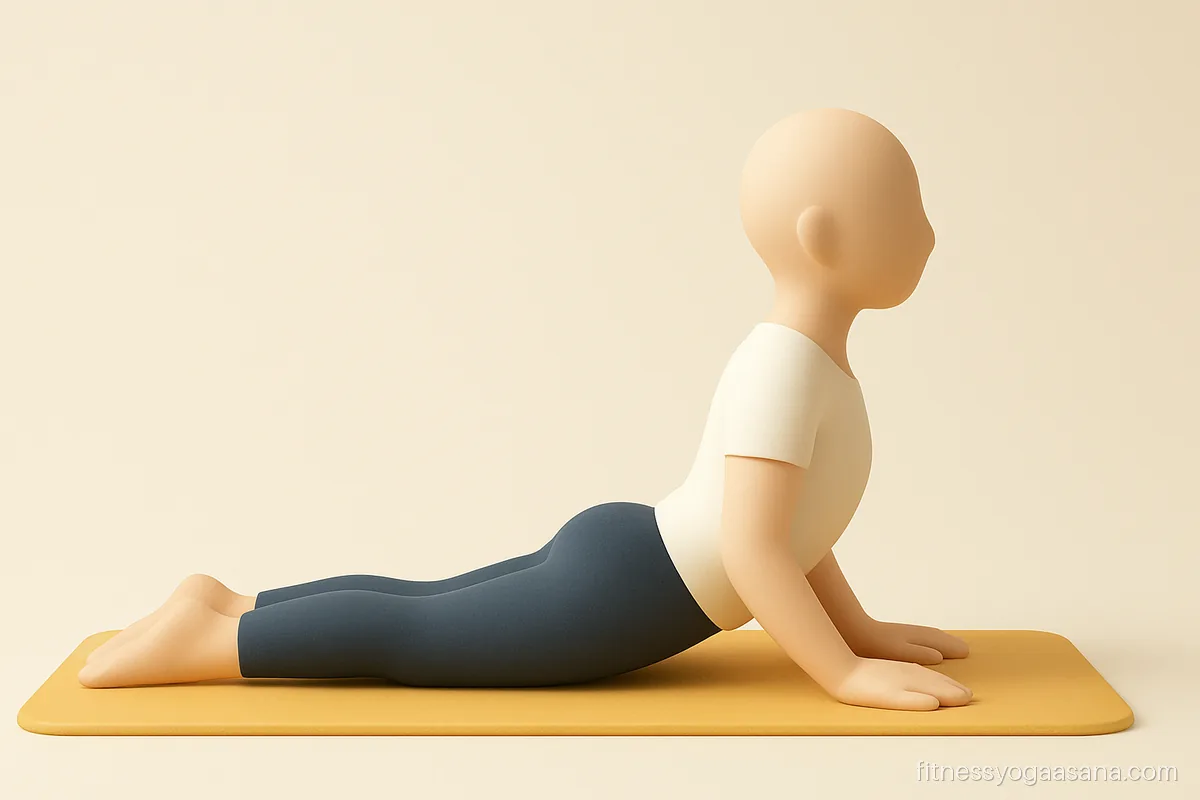
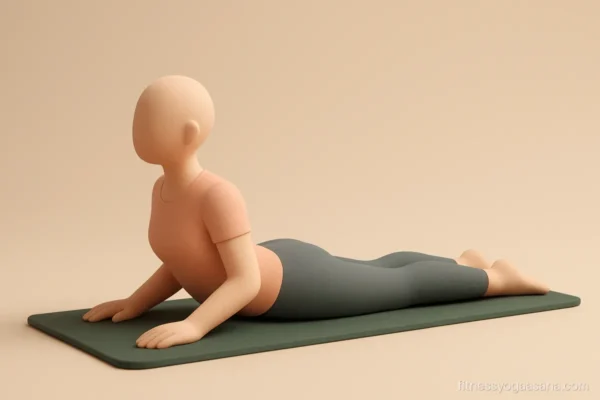
Step 7, bhujangasana. Inhale, slide forward and lift the chest into cobra. Elbows stay a little bent and close to the body.
Teacher's cue: Draw the shoulders back and down; the neck stays long.
- Level
- Beginner
- Hold
- Exhale
- Works on
- Shoulders, calves
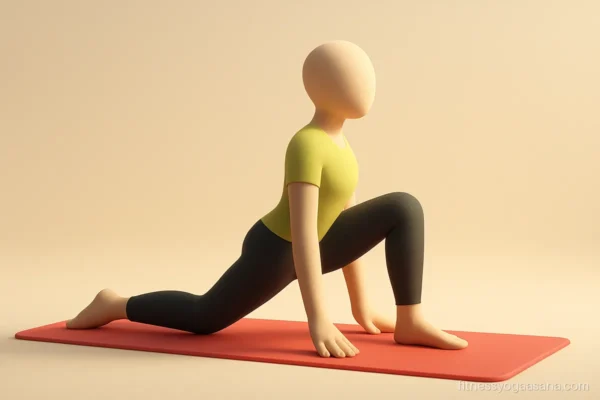
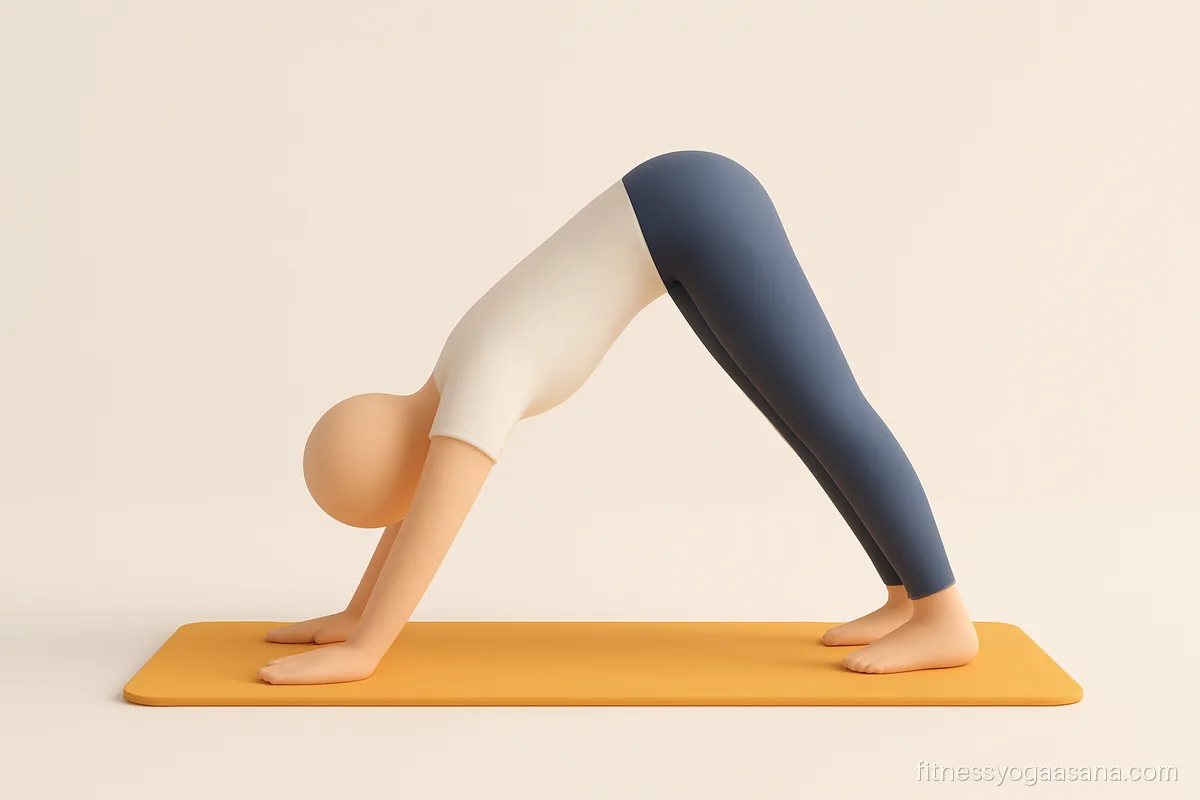
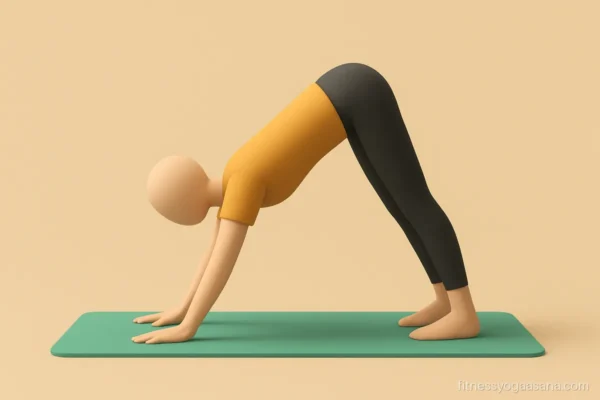
Step 8, parvatasana. Exhale, tuck the toes and lift the hips up and back into a mountain shape. Heels reach toward the floor.
Teacher's cue: Bend the knees a little if your back rounds; a long spine comes first.

- Level
- Beginner
- Hold
- Inhale
- Works on
- Hips, thighs
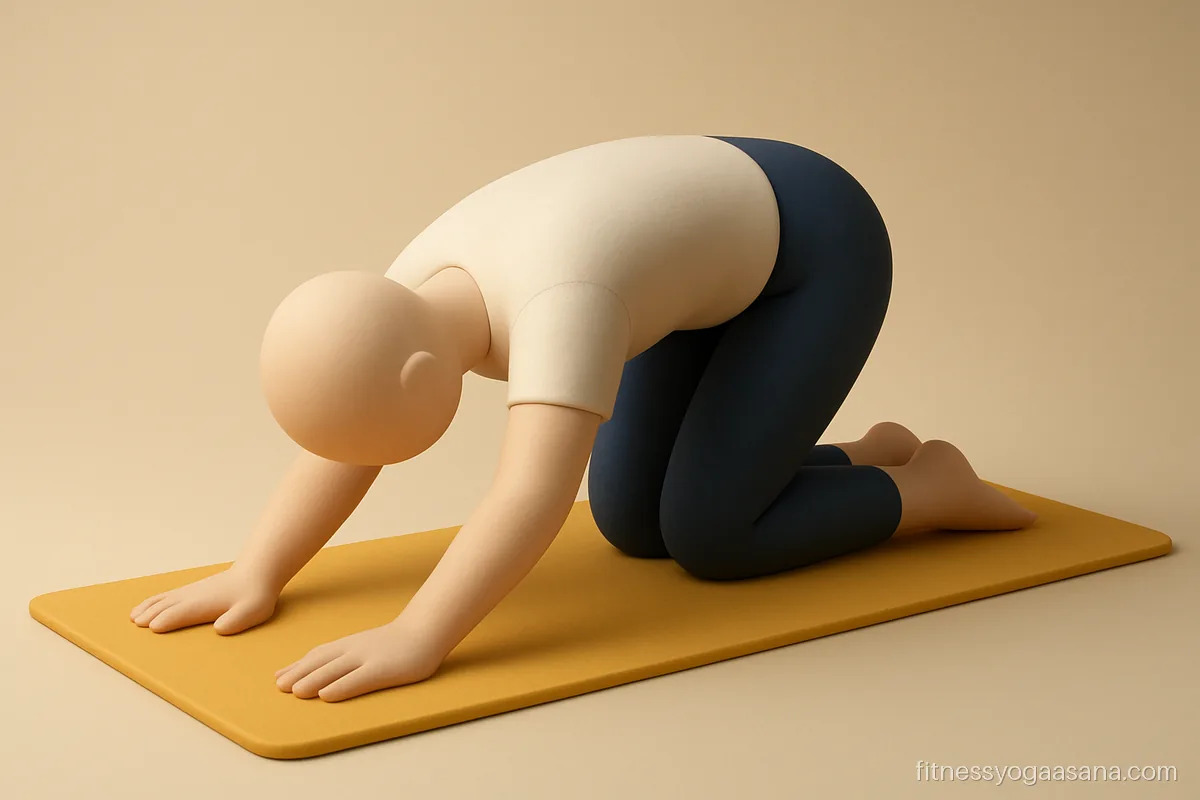
Step 9, ashwa sanchalanasana again. Inhale and step the right foot forward between the hands, left knee down, chest lifted.
Teacher's cue: If the foot does not reach, help it forward with your hand.
- Level
- Beginner
- Hold
- Exhale
- Works on
- Hamstrings, back
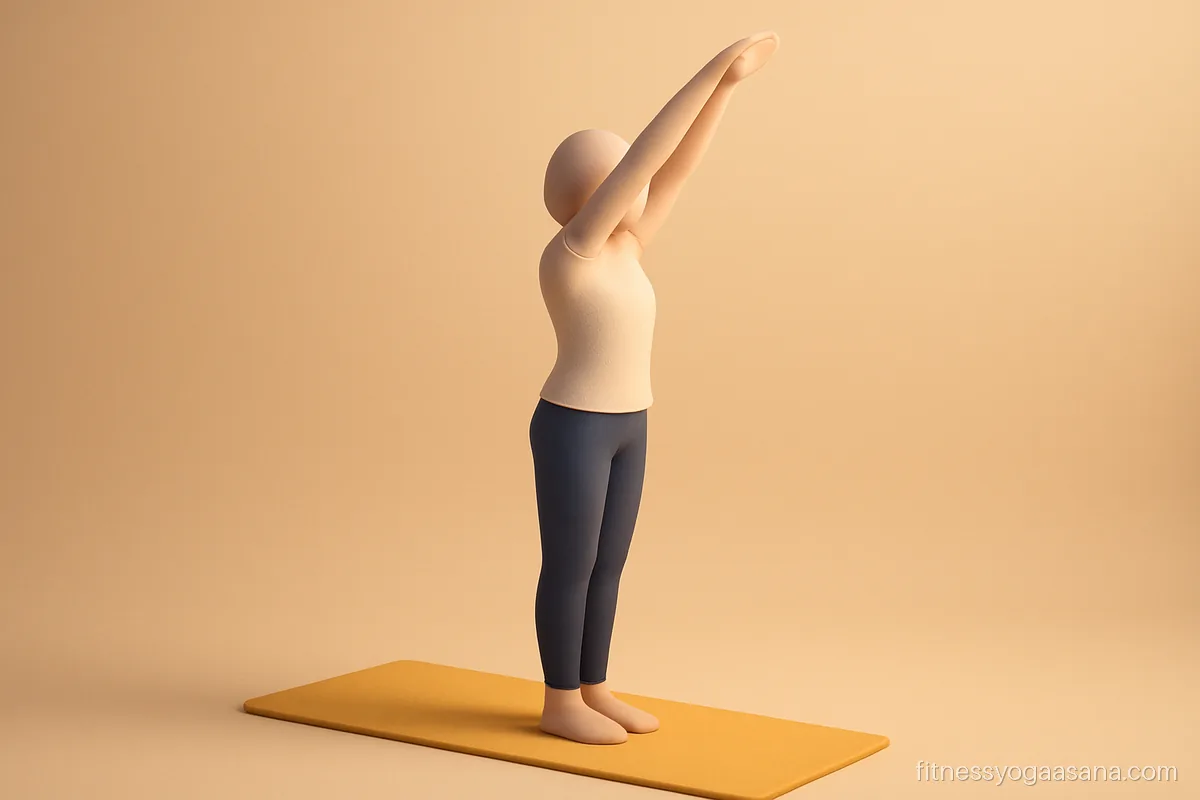
Step 10, hasta padasana. Exhale, bring the back foot forward and fold again over the legs.
Teacher's cue: Let the head hang heavy and soften the back of the neck.
- Level
- Beginner
- Hold
- Inhale
- Works on
- Whole front body
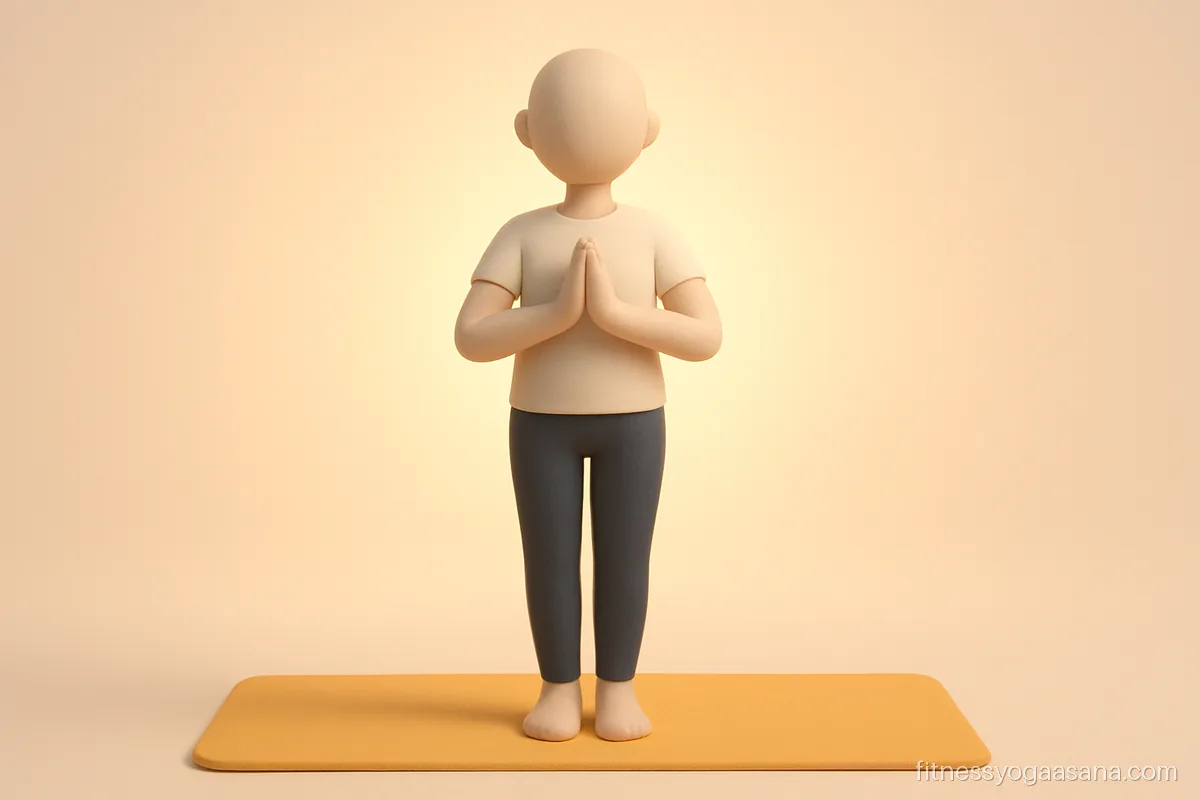
Step 11, hasta uttanasana. Inhale and rise with a long spine, arms reaching up and slightly back.
Teacher's cue: Rise with a flat back, leading with the arms, to protect the lower back.
- Level
- Beginner
- Hold
- Exhale and pause
- Works on
- Calm
Step 12, pranamasana. Exhale and bring the palms back to the chest. Pause, then begin the second set leading with the left leg.
Teacher's cue: Feel the heartbeat and the breath before you start the next set.
How to do surya namaskar for the first time
Surya namaskar kaise karte hain if you have never tried it? Do not link the poses yet. For the first three or four days, hold each position for two or three breaths, check it against the picture, then move on. Once the shapes feel familiar, start matching one movement to one breath, as in the list above. Most people need one to two weeks before a round feels smooth.
Warm up first with a minute of cat cow and a few wrist circles, and keep child pose ready for rest between rounds.
Easier versions for each part
- Tight hamstrings: bend the knees in steps 3 and 10 until the palms reach the floor. A yoga block under each hand also works.
- Weak arms: lower the knees in plank, and skip step 6 by lowering straight to the floor.
- Sensitive lower back: keep step 2 almost upright and do a low cobra in step 7.
- Knee discomfort: fold a blanket under the back knee in the lunges.
- Limited time or energy: do half rounds, only the right side, then only the left on the next round.
Common mistakes in the surya namaskar poses
| Mistake | Fix |
|---|---|
| Holding the breath through the whole round | Slow down until every move has its own breath |
| Throwing the head back in step 2 | Lift the chest, keep the neck long, look slightly up |
| Hands not in line with the feet | Fingertips in line with the toes in steps 3 and 10 |
| Front knee past the toes in the lunge | Step the back leg further back |
| Sagging hips in plank | Firm the belly or drop the knees |
| Straight arms in cobra | Bend the elbows and rise just to a comfortable height |
Surya namaskar yoga sequence: building rounds
Week one: 2 rounds, slowly, with rest. Week two: 4 rounds. Week three: 6 rounds. After a month most healthy adults can manage 8 to 12 rounds in 15 to 20 minutes. After your rounds, lie in shavasana for two to three minutes so the heart rate settles. If you are doing more rounds for fitness, read surya namaskar for weight loss and try the calorie estimator.
Adding the mantras to the steps
Each step has a traditional mantra, said before or during the pose. Step 1 is Om Mitraya Namah and step 12 is Om Bhaskaraya Namah. Saying the mantras naturally slows the pace and keeps you counting. The full list with meanings is on the surya namaskar mantra page.
Who should check first
Speak to your doctor before starting if you have high blood pressure, heart disease, a hernia, a recent back or wrist injury, or if you are pregnant. In pregnancy, many teachers suggest skipping steps 6 and 7 and the deep folds, or switching to gentler standing work.
Warm up first, move at a pace where you can breathe through the nose, and rest in child pose whenever you need to. Check with a doctor first if you have back, knee or heart problems or high blood pressure.
Questions people ask
What are the 12 steps of surya namaskar?
Prayer pose, raised arms, hand to foot, equestrian lunge, plank, eight points salute, cobra, mountain, equestrian lunge, hand to foot, raised arms and prayer pose.
Which leg goes back first in surya namaskar?
Most teachers start with the right leg back in step 4 for the first set, then the left in the second set. Some schools start with the left; just alternate evenly.
How long should one round of the 12 steps take?
While learning, take 3 to 4 minutes per round. With practice, a calm round takes 1 to 2 minutes. Faster is not better unless you are training for fitness.
Can I do surya namaskar steps without a mat?
A mat helps hands and feet grip. On a smooth floor, use a thick rug or folded bedsheet, and be careful of slipping in the lunges.
Is there a surya namaskar step by step chart for kids?
Children over about 7 can learn the same 12 steps slowly. Keep it playful and short; see yoga for kids.
Practise next
 Surya namaskarWhat surya namaskar is, its 12 poses, rounds, mantras and benefits
 Surya namaskar mantraThe twelve mantras in order, their meanings and matching steps
 Surya namaskar benefitsWhat regular sun salutations do for strength, flexibility and mood
 Bhujangasana (cobra)Cobra pose: a gentle back bend lying on the belly
 Downward dogThe inverted V: hips high, heels reaching, spine long
 Plank poseThe straight line hold and the low push up of sun salutation